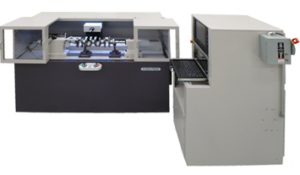
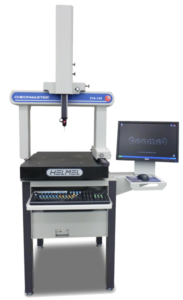
 Checkmaster Coordinate Measuring Machine
Manual benchtop Series CMM is better than a toolbox full of gages. Very efficient and utilitarian Geomet Software provides powerful solutions for the most challenging tasks. Checkmaster supports fixed or indexible probe systems, plus hard probe scanning and Reverse Engineering. A video probe option is also available. Locks and fine adjust are standard. 12”x12”x10” and 16”x20”x14” sizes.
| Axis | From | To | |||
| X | 12″ | 16″ | |||
| Y | 12″ | 20″ | |||
| Z | 10″ | 14″ | |||
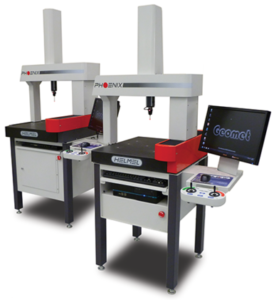 Phoenix Coordinate Measuring Machine
The Phoenix is made for harsh environments, with well-placed covers that prevent temperature shock. Its steel measuring scales on metal structures assure uniform expansion. The Phoenix CMM incorporates all the time-proven features of its “big brother”, the Microstar: hardened precision-ground ways, dual beam bridge with reliable V-and-Flat bearing arrangement and intrinsic accuracy.
| Axis | From | To | |||
| X | 12″ | 16″ | |||
| Y | 12″ | 20″ | |||
| Z | 10″ | 14″ | |||
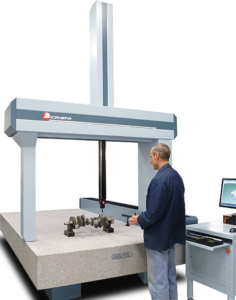
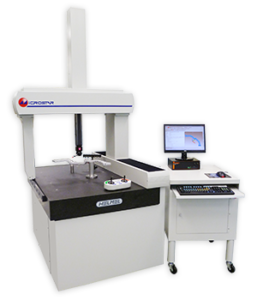 Microstar Coordinate Measuring Machine
Our mid-to-large sized moving bridge Microstar Series is the workhorse platform for a broad range of applications. Sizes range from 20”x25”x16” up to 50”x80”x25”. All Microstar systems are available as DCC, or Manually operated with locks and fine adjustment. Microstar is a perfect solution for accurate inspection and reverse engineering. Touch trigger and analog scanning, are supported. A video probe option is available for manual version.
| Axis | From | To | |||
| X | 20″ | 50″ | |||
| Y | 25″ | 80″ | |||
| Z | 16″ | 25″ | |||
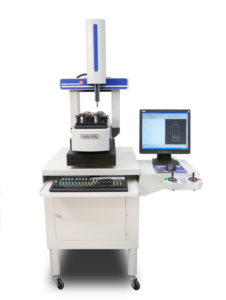
 Microstar 1M Coordinate Measuring Machine
The design of our 1M Series incorporates a hybrid bearing system, with a combination of mechanical and air bearings, each utilized to take advantage of optimum performance characteristics. An optional Renishaw UCC2 Controller can be ordered to enhance capabilities turning the Microstar into a very powerful scanning system.
| Axis | From | To | |||
| X | 40″ | 60″ | |||
| Y | 60″ | 120″ | |||
| Z | 40″ | ||||
 Microgage Coordinate Measuring Machine
Designed for small parts wih high accuracies, the Microgage fills niche in the market requiring high precision . The fixed bridge design with a unique bearing system gives it a stability and robustness hardly matched by larger units. This makes it a good candidate for production applications.
Despite its compact size it can be outfitted with a stylus changer or a scanning probe.
| Axis | |||||
| X | 8″ | ||||
| Y | 12″ | ||||
| Z | 8″ | ||||
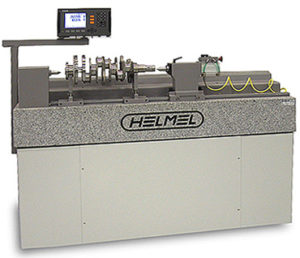 Checkmaster Shaft Measuring Machine
Our horizontal format SMMs are tough factory floor gages with reliability and ease of operation proven over years of hard use. CHECKMASTER SMMs are manually operated 1 or 2 axis machines that are direct reading with hard probes.
| Axis | From | To | |||
| X | 12″ | 60″ | |||
| Y | 6″ | 12″ | |||
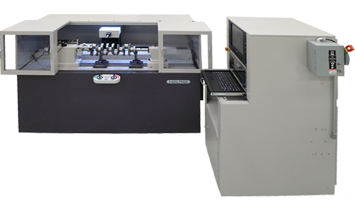 Axium 4-Axis Shaft Measuring Machine
Our horizontal format SMMs are tough factory floor gages with reliability and ease of operation proven over years of hard use. The AXIUM is a 4 axis DCC system developed for crankshaft applications and other production shafts.
| Axis | |||||
| X | 44″ | ||||
| Y | 7″ | ||||
| Z | 10″ | ||||


